
How to Add a Domain and Verify DNS Record
This guide will walk you through the process of adding and verifying your email domain.
Verifying your domain is a crucial step before you begin sending emails. We recommend that everyone complete this process to track opens and clicks, prevent spam, and ensure that only you and your team can send emails using your domain.
–
Step 1: Add Your Domain
Navigate to the Sub-account, then click on Settings > Email Services > Dedicated Domain and IP > + Add Domain.
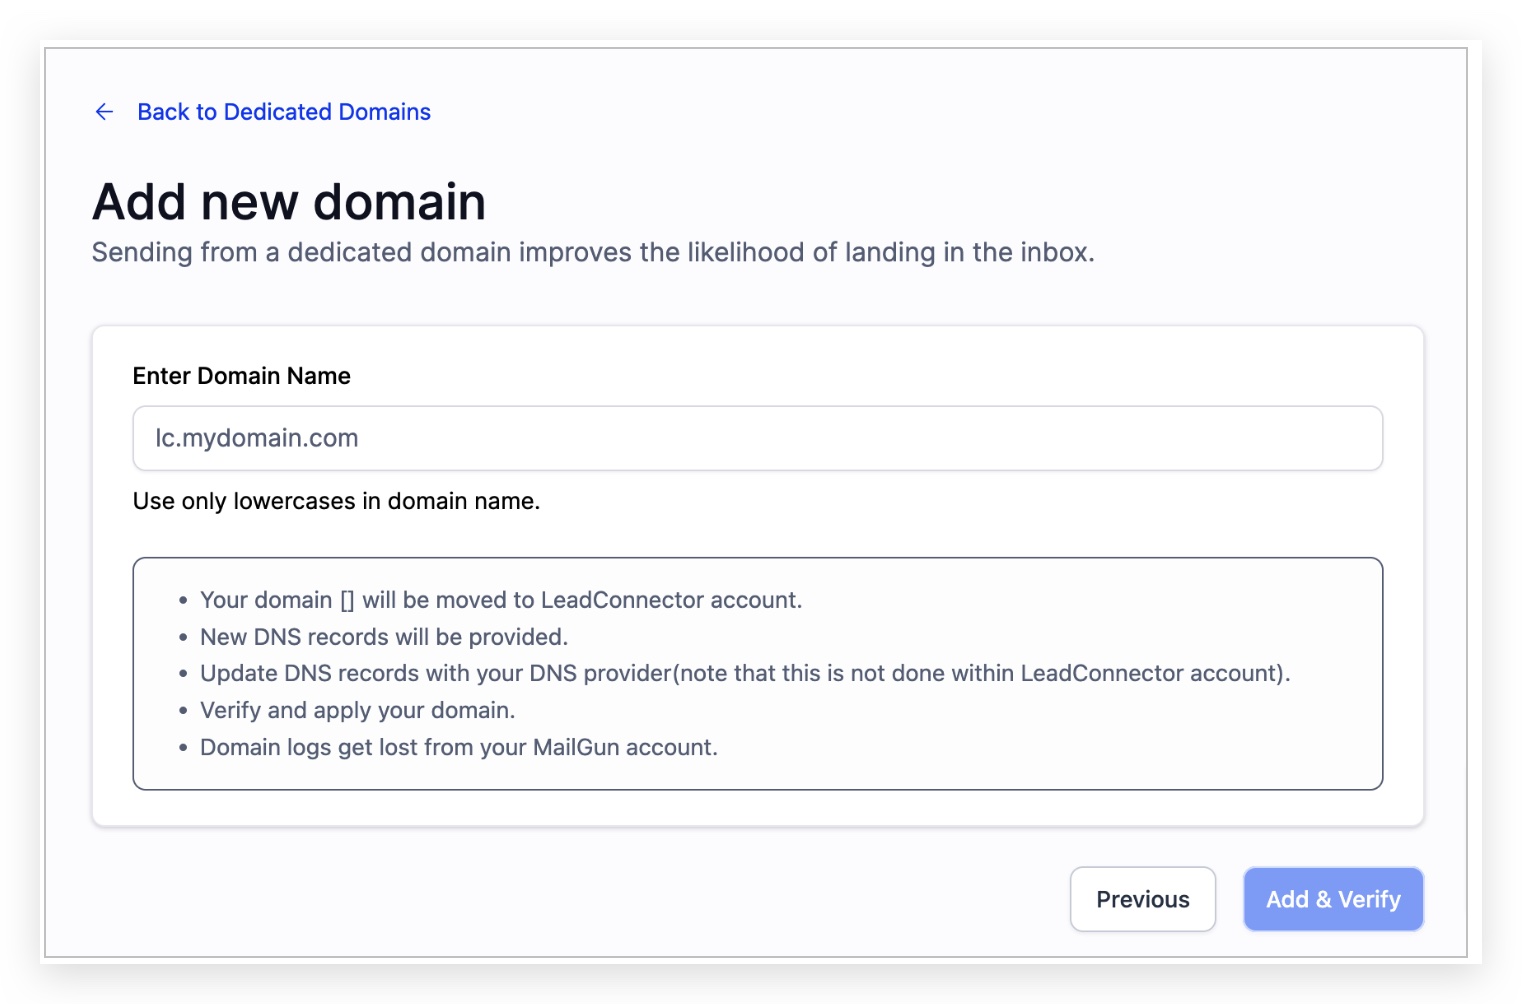
Enter the domain you wish to use in the “Enter domain name” field, then click “Add & Verify.”
Note: For improved email deliverability, we recommend using a subdomain.
Step 2: Verify Your Domain
You have two options for verification: Connect through your DNS provider or set up manually.
Option 1: Connect Your Domain (Auto Configure DNS)
This is the simplest method to verify and authenticate your domain. It uses our integrated connection with several leading DNS providers to automatically configure the DNS records. This allows you to verify and authenticate your domain in just one easy step.
Click “Continue” on the next modal to proceed.

2. Our system will automatically detect your DNS provider and direct you to their platform.
Note: The “Configure Domain” option may not be available for all DNS providers. If we’re unable to identify your provider, the necessary records will appear in a modal window. You can then manually add the DNS records.
For example, if the DNS provider is Cloudflare, you’ll need your credentials to log into their platform to proceed.
Click “Authorize domain” in the next modal to continue.

3. Log in to your DNS provider. The process may vary slightly depending on the provider. In this example, we’re using Cloudflare, but the login method will differ for each DNS provider.
Your DNS provider may require you to enter a confirmation code sent via email or text.
Once logged in, click “Authorize” on the Cloudflare page to proceed.

4. You will be redirected to the domain verification page.
Note: DNS changes may take anywhere from 1 to 10 minutes to propagate across the internet. While it usually happens quickly, don’t be concerned if it takes a little longer.
DMARC: If you’ve already added the policy to your root domain, you can skip adding the DMARC record for the subdomain.
If everything is configured correctly, you’ll see a Verified status like this:

Option 2: Set Up Manually
After adding your domain, if our system is unable to identify your provider, the required records will be shown for you to view.

Most DNS providers will typically require the following information to set up your DNS records:
Root Domain Example:
-
Type: Select the appropriate type for each row (TXT, CNAME, MX).
-
Name or Hostname: Copy and paste the “Name” for each DNS record. If your DNS has not been verified, use “@” in place of the root domain name. If it’s verified, replace “@” with your full root domain name (e.g., “yourdomain.com”).
-
Value or Record: Copy and paste the “Value” provided for each DNS record.
-
TTL: Set to 5 minutes.
Sub-domain Example:
-
Type: Select the appropriate type for each row (TXT, CNAME, MX).
-
Name or Hostname: Copy and paste the “Name” for each DNS record. If the hostname is “mail.yourdomain.com”, you may only need to enter the subdomain part (“mail”). If not verified, use the full hostname (e.g., “mail.yourdomain.com”).
-
Value or Record: Copy and paste the “Value” provided for each DNS record.
-
TTL: Set to 5 minutes.
Once everything is correctly configured, you should see a Verified status like this:

You will be redirected to the Dedicated Domain page, where you can view the active status.
Note: After your domain is verified, it may take between 1 to 10 minutes to issue the SSL certificate. While it typically happens quickly, don’t be concerned if it takes a bit longer.
